简单实现浏览Android SD卡中的文件
----Main.java
public class Main extends Activity {

	private TextView textView;
	private Button button;
	private ListView listView;

	public File currentParentFile;
	public File[] currentFiles;
	public static  String sdcardDir ;
	static {
		try {
			//sd卡的路径
			sdcardDir = Environment.getExternalStorageDirectory().getCanonicalPath();
		} catch (IOException e) {
			e.printStackTrace();
		}
	}
	@Override
	protected void onCreate(Bundle savedInstanceState) {
		super.onCreate(savedInstanceState);
		setContentView(R.layout.main);
		textView = (TextView) findViewById(R.id.textView1);
		button = (Button) findViewById(R.id.button1);
		listView = (ListView) findViewById(R.id.listView1);
		File root = new File(sdcardDir);
		if(root.exists()){
			currentParentFile = root;
			currentFiles = root.listFiles();
			updateListView(currentFiles);
		}

		listView.setOnItemClickListener(new OnItemClickListener() {

			@Override
			public void onItemClick(AdapterView<?> parent, View view,
					int position, long id) {
				if (currentFiles[position].isFile())
					return;
				File[] tmp = currentFiles[position].listFiles();
				if (tmp == null || tmp.length == 0) {
					Toast.makeText(Main.this, "当前路径无效,或没有文件",
							Toast.LENGTH_SHORT).show();
				} else {
					currentParentFile = currentFiles[position];
					currentFiles = tmp;
					updateListView(currentFiles);
				}
			}
		});
		button.setOnClickListener(new OnClickListener() {

			@Override
			public void onClick(View v) {
				try {
					if (!currentParentFile.getCanonicalPath().equals(
							sdcardDir)) {
						currentParentFile = currentParentFile.getParentFile();
						currentFiles = currentParentFile.listFiles();
						updateListView(currentFiles);
					}
					else
						return;
				} catch (IOException e) {
					// TODO Auto-generated catch block
					e.printStackTrace();
				}
			}
		});
	}

	private void updateListView(File[] files) {
		List<Map<String, Object>> itemps = new ArrayList<Map<String, Object>>();
		for (int i = 0; i < files.length; i++) {
			Map<String, Object> listItem = new HashMap<String, Object>();
			if (files[i].isDirectory())
				listItem.put("icon", R.drawable.folder);
			else
				listItem.put("icon", R.drawable.file);
			listItem.put("name", files[i].getName());
			itemps.add(listItem);
		}

		SimpleAdapter simpleAdapter = new SimpleAdapter(this, itemps,
				R.layout.listitem, new String[] { "icon", "name" }, new int[] {
						R.id.imageView1, R.id.text });
		listView.setAdapter(simpleAdapter);
		try {
			textView.setText("当前路径为:"+currentParentFile.getCanonicalPath());
		} catch (IOException e) {
			e.printStackTrace();
		}
	}
}
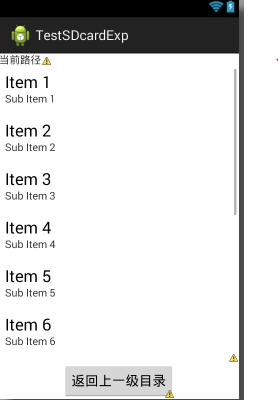
布局文件----main.xml
<RelativeLayout xmlns:android="http://schemas.android.com/apk/res/android"
    xmlns:tools="http://schemas.android.com/tools"
    android:layout_width="match_parent"
    android:layout_height="match_parent"
    tools:context="${relativePackage}.${activityClass}" >

    <TextView
        android:id="@+id/textView1"
        android:layout_width="wrap_content"
        android:layout_height="wrap_content"
        android:text="当前路径:" />

    <Button
        android:id="@+id/button1"
        android:layout_width="wrap_content"
        android:layout_height="wrap_content"
        android:layout_alignParentBottom="true"
        android:layout_centerHorizontal="true"
        android:text="返回上一级目录" />

    <ListView
        android:id="@+id/listView1"
        android:layout_width="match_parent"
        android:layout_height="wrap_content"
        android:layout_above="@+id/button1"
        android:layout_alignParentLeft="true"
        android:layout_below="@+id/textView1" >

    </ListView>

</RelativeLayout>
效果:

listview的每一条的布局:
---listitem.xml
<?xml version="1.0" encoding="utf-8"?>
<RelativeLayout xmlns:android="http://schemas.android.com/apk/res/android"
    android:layout_width="match_parent"
    android:layout_height="match_parent" >

    <ImageView
        android:id="@+id/imageView1"
        android:layout_width="wrap_content"
        android:layout_height="wrap_content"
        android:layout_alignParentLeft="true"
        android:layout_alignParentTop="true"
        android:src="@drawable/ic_launcher" />

    <TextView
        android:id="@+id/text"
        android:layout_width="wrap_content"
        android:layout_height="wrap_content"
        android:layout_alignParentTop="true"
        android:layout_marginTop="15dp"
        android:layout_toRightOf="@+id/imageView1"
        android:text="TextView" />

</RelativeLayout>
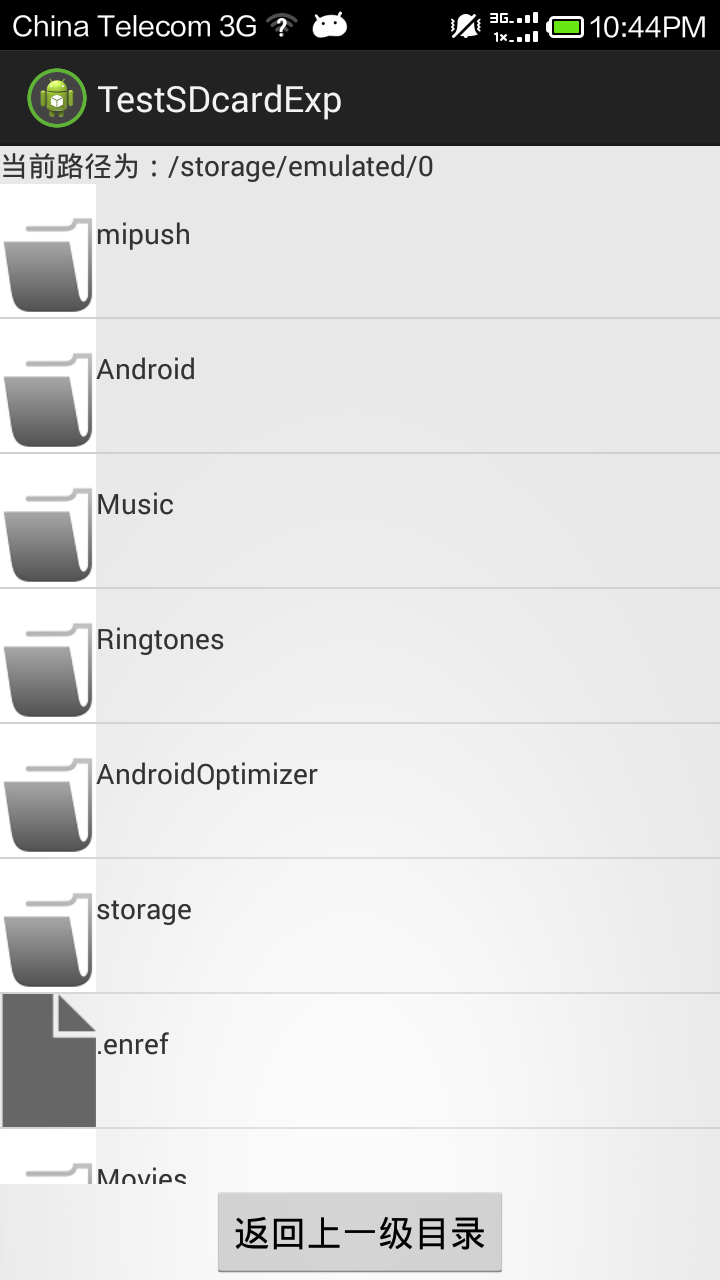
demo运行效果:

郑重声明:本站内容如果来自互联网及其他传播媒体,其版权均属原媒体及文章作者所有。转载目的在于传递更多信息及用于网络分享,并不代表本站赞同其观点和对其真实性负责,也不构成任何其他建议。


