Virtualbox上面UEFI/GPT安装Archlinux2015.05.01
新建Arch 64位虚拟机,内存1G,挂载Archlinux2015.05.01的ISO文件到光盘,网络选择桥接物理机网卡,硬盘设置32G。在"设置--系统--主板--扩展特性"下面勾选“启用EFI",然后启动虚拟机,选择第一个菜单启动。
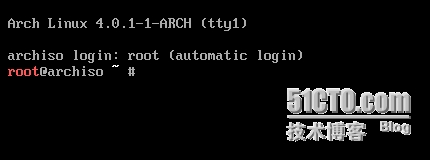
启动完成后自动登录。
开始对虚拟机硬盘分区,GPT模式,分三个区,一个给EFI启动,一个/,一个SWAP。
root@archiso ~ # parted
GNU Parted 3.2
Using /dev/sda
Welcome to GNU Parted! Type ‘help‘ to view a list of commands.
(parted) mklabel
New disk label type? gpt
(parted) mkpart
Partition name? []?
file system type? [ext2]?
Start? 0
End? 300M
Warning: The resulting partition is not properly aligned for best performance.
Ignore/Cancel? I
(parted) mkpart
Partition name? []?
file system type? [ext2]?
Start? 300M
End? 32G
Warning: The resulting partition is not properly aligned for best performance.
Ignore/Cancel? I
(parted) mkpart
Partition name? []?
file system type? [ext2]?
Start? 32G
End? 34G
Warning: The resulting partition is not properly aligned for best performance.
Ignore/Cancel? I
(parted) quit
Information: You may need to update /etc/fstab
root@archiso ~ #
然后格式化分区
root@archiso ~ # mkfs.vfat -F32 /dev/sda1
root@archiso ~ # mkfs.ext4 /dev/sda2
root@archiso ~ # mkswap /dev/sda3
然后挂载分区
root@archiso ~ # mount /dev/sda2 /mnt
root@archiso ~ # mkdir -p /mnt/boot/efi
root@archiso ~ # mount /dev/sda1 /mnt/boot/efi
root@archiso ~ # swapon /dev/sda3
4. 清空mirrorlist文件,并写入163的源。
root@archiso ~ # echo > /etc/pacman.d/mirrorlist
root@archiso ~ # nano /etc/pacman.d/mirrorlist
Server = http://mirrors.163.com/archlinux/$repo/os/$arch
5. 开始安装系统
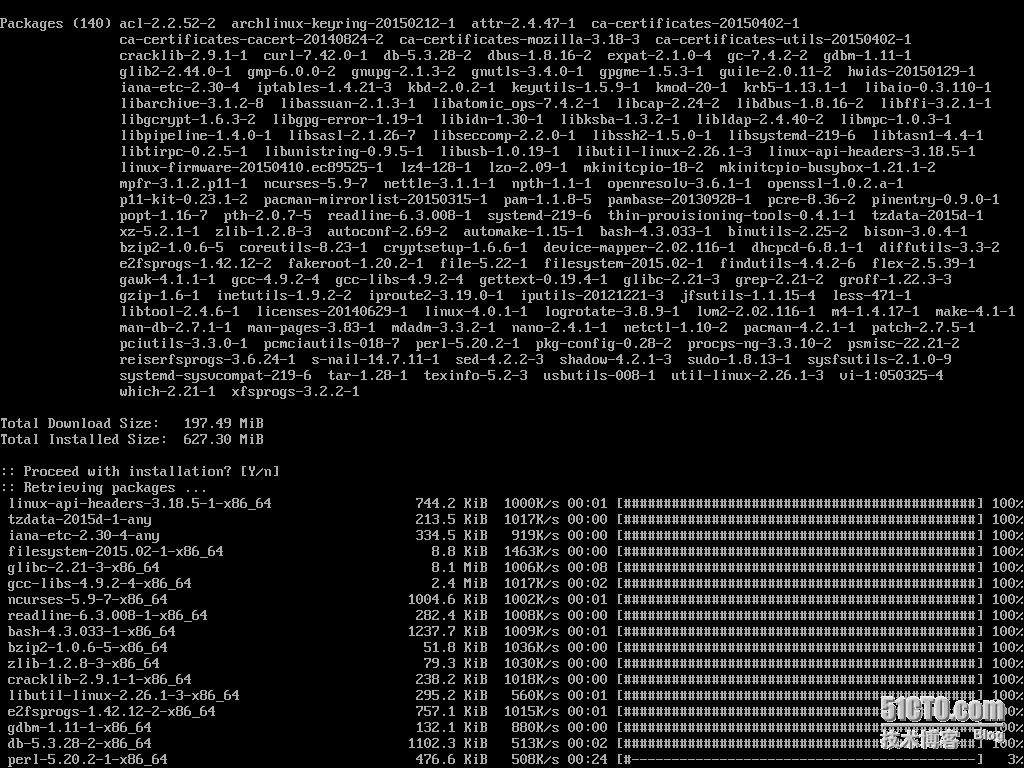
root@archiso ~ # pacstrap /mnt base base-devel
6. 安装完后写入分区表,切换到新系统
root@archiso ~ # genfstab -U -p /mnt >> /mnt/etc/fstab
root@archiso ~ # arch-chroot /mnt
sh-4.3#
7. 编辑/etc/locale.gen,去掉一下三个前面的#号注释,并运行
sh-4.3# nano /etc/locale.gen
en_US.UTF-8 UTF-8
zh_CN.UTF-8 UTF-8
zh_CN.GB2312
sh-4.3# locale-gen
8. 设置主机名和root密码
sh-4.3# echo arch150501 > /etc/hostname
sh-4.3# passwd
Enter new UNIX password: Ab12345678
Retype new UNIX password: Ab12345678
passwd: password updated successfully
sh-4.3#
9. 安装几个软件和grub启动器,要装EFI版本的。
sh-4.3# pacman -S openssh net-tools vim grub-efi-x86_64 efibootmgr
10. 把GRUB装到EFI分区里,这样就多一条GRUB启动项了。
sh-4.3# grub-install --efi-directory=/boot/efi --bootloader-id=arch-grub --recheck
11. 生成grub配置文件,在Grub里加一条启动项。
sh-4.3# grub-mkconfig -o /boot/grub/grub.cfg
12. 到此安装完成,卸载,重启,或者关机,卸载光盘ISO再启动
sh-4.3# exit
sh-4.3# umount /mnt/boot/efi
sh-4.3# umount /mnt
sh-4.3# reboot
本文出自 “IT虾米Paul Yang” 博客,请务必保留此出处http://423877.blog.51cto.com/413877/1642053
郑重声明:本站内容如果来自互联网及其他传播媒体,其版权均属原媒体及文章作者所有。转载目的在于传递更多信息及用于网络分享,并不代表本站赞同其观点和对其真实性负责,也不构成任何其他建议。


