Linux—图解PXE实现全自动安装系统
1、安装背景:
在实际工作中,我们经常会遇到这样的情况:想要安装Linux但是计算机没有光驱,或者是有大批量的计算机需要同时安装Linux,如果通过光驱的方式一个个安装,不仅效率低,也不利于维护。这是时候你就需要PXE的强大功能了。本文就简单的图解一下PXE的安装流程。
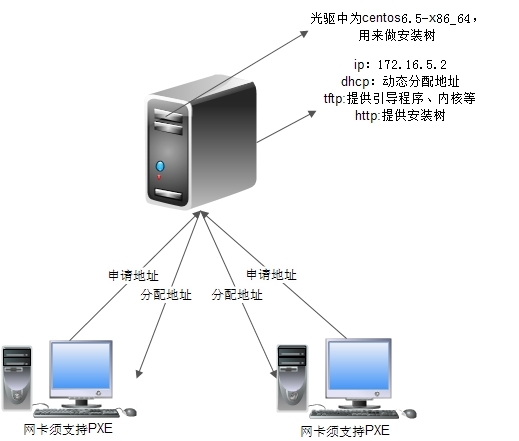
2、本博文中PXE自动安装硬件架构如下图,DHCP、TFTP、HTTP都在172.16.5.2这台服务器上。
3、自动安装原理:
1.客户机从自己的PXE网卡启动,向本网络中的DHCP服务器索取IP
2.DHCP服务器返回分给客户机IP
3.客户机向本网络中的TFTP服务器索取文件
4.客户机取得bootstrap文件后之执行引导文件完成引导
5.然后读取配置文件,通过TFTP服务器加载内核和文件系统
6.进入安装画面, 此时可以通过选择HTTP、FTP、NFS(这里以http为例)方式进行安装
从这里我们不难得到实现PXE网络安装必需的4个要素
1.客户机的网卡必须为PXE网卡
2.网络中必须要有DHCP和TFTP服务器,当然这两个服务器可以是同一台物理主机
3.所安装的操作系统必须支持网络安装。
4.必须要有FTP,HTTP,NFS至少一个服务器,当然也可以和DHCP和TFTP服务器同为一台物理主机
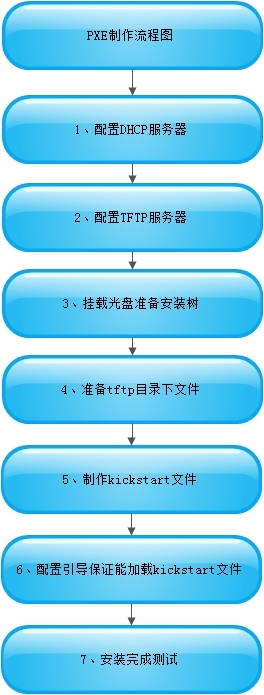
4、PXE配置流程图:
5、具体实现如下:
1、安装dhcp、自定义作用域
yum install dhcp -y
[root@localhost ~]# rpm -ql dhcp
/etc/dhcp
/etc/dhcp/dhcpd.conf
subnet 172.16.0.0 netmask 255.255.0.0 {
        range 172.16.5.10 172.16.5.20;
        option routers 172.16.0.1;
        next-server 172.16.5.2;
        filename "pxelinux.0";
}
host webserver1 {
        hardware ethernet 00:0C:29:8C:C8:A4;
        fixed-address 172.16.5.100;
        option routers 172.16.0.1;
        option domain-name "http://il23f.blog.51cto.com";
        option domain-name-servers 172.16.0.1,8.8.8.8;
}
验证dhcpd进程是否处于监听状态
[root@localhost ~]# ps aux | grep dhcp
dhcpd     1708  0.0  0.8  48908  4308 ?        Ss   20:27   0:00 /usr/sbin/dhcpd -user dhcpd -group dhcpd
root      2844  0.0  0.1 103252   828 pts/0    S+   21:51   0:00 grep dhcp
[root@localhost ~]# ss -unl | grep :67
UNCONN     0      0                         *:67                       *:*
2、配置TFTP
yum -y install xinetd tftp-server tftp
chkconfig xinetd on
chkconfig tftp on
service xinetd start
[root@localhost ~]# ss -unl | grep :69
UNCONN     0      0                         *:69                       *:*
3、准备安装树
mkdir /var/www/html/centos6
mount --bind /media/cdrom /var/www/html/centos6
service httpd start
4、准备/var/lib/tftpboot下文件
yum -y install syslinux
cp /media/cdrom/images/pxeboot/{vmlinuz,initrd.img}  /var/lib/tftpboot/
cp /media/cdrom/isolinux/{boot.msg,vesamenu.c32,splash.jpg}  /var/lib/tftpboot/
cp /usr/share/syslinux/pxelinux.0  /var/lib/tftpboot/
mkdir /var/lib/tftpboot/pxelinux.cfg
cp /media/cdrom/isolinux/isolinux.cfg /var/lib/tftpboot/pxelinux.cfg/default5、制作ks.cfg文件
5、制作kickstart文件ks.cfg,放到/var/www/html目录下
#version=DEVEL
# Firewall configuration
firewall --disabled
# Install OS instead of upgrade
install
# Use network installation
url --url="http://172.16.5.2/centos6"
repo --name="CentOS" --baseurl=http://172.16.5.2/centos6 --cost=100
# Root password
rootpw --iscrypted $1$seblmxLh$CowavZZ/Le1Yc9pWSXSCV/
# System authorization information
auth  --useshadow  --passalgo=sha512
# System keyboard
keyboard us
# System language
lang en_US
# SELinux configuration
selinux --disabled
# Installation logging level
logging --level=info
# Reboot after installation
reboot
# System timezone
timezone  Asia/Shanghai
# Network information
network  --bootproto=dhcp --device=eth0 --onboot=on
# System bootloader configuration
bootloader --append="crashkernel=auto crashkernel=auto rhgb rhgb quiet quiet" --location=mbr --driveorder="sda"
# Clear the Master Boot Record
zerombr
# Partition clearing information
clearpart --all
# Disk partitioning information
part /boot --fstype="ext4" --size=200
part / --fstype="ext4" --size=5000
part swap --fstype="swap" --size=1000
%post
echo -e ‘My 51cto blot: http://il23f.blog.51cto.com\n‘ >> /etc/issue
sed -i ‘1,$s@id:[0-9]:initdefault:@id:3:initdefault:@g‘ /etc/inittab
[ ! -d /root/.ssh ] && mkdir /root/.ssh && chmod og=--- /root/.ssh
cat >> /root/.ssh/authorized_keys << EOF
EOF
# Enable funcd
sed -i ‘s@certmaster =.*@certmaster = 172.16.0.1@g‘ /etc/certmaster/minion.conf
/sbin/chkconfig funcd off
# Set the hostname
ClientName=`ifconfig eth0 | awk ‘/inet addr:/{print $2}‘ | awk -F. ‘{print $NF}‘`
sed -i "s@HOSTNAME=.*@HOSTNAME=client$ClientName.il23f.blog.51cto.com@g" /etc/sysconfig/networks
# set puppet agent
sed -i ‘/\[main\]/a server=il23f.blog.51cto.com‘ /etc/puppet/puppet.conf
/sbin/chkconfig puppet off
# set hosts
echo ‘172.16.0.1  il23f.blog.51cto.com‘ >> /etc/hosts
# yum repo
%end
%packages
@base
@basic-desktop
@chinese-support
@client-mgmt-tools
@core
@desktop-platform
@fonts
@general-desktop
@graphical-admin-tools
@legacy-x
@network-file-system-client
@perl-runtime
@remote-desktop-clients
@x11
%end
6、配置引导保证能加载kickstart文件,在以下文件的第20行的后边加上ks=http://172.16.5.2/ks.cfg
[root@localhost pxelinux.cfg]# vim default
default vesamenu.c32
#prompt 1
timeout 600
display boot.msg
menu background splash.jpg
menu title Welcome to CentOS 6.5!
menu color border 0 #ffffffff #00000000
menu color sel 7 #ffffffff #ff000000
menu color title 0 #ffffffff #00000000
menu color tabmsg 0 #ffffffff #00000000
menu color unsel 0 #ffffffff #00000000
menu color hotsel 0 #ff000000 #ffffffff
menu color hotkey 7 #ffffffff #ff000000
menu color scrollbar 0 #ffffffff #00000000
label linux
  menu label ^Install or upgrade an existing system
  menu default
  kernel vmlinuz
  append initrd=initrd.img ks=http://172.16.5.2/ks.cfg
label vesa
  menu label Install system with ^basic video driver
  kernel vmlinuz
  append initrd=initrd.img xdriver=vesa nomodeset
label rescue
  menu label ^Rescue installed system
  kernel vmlinuz
  append initrd=initrd.img rescue
label local
  menu label Boot from ^local drive
  localboot 0xffff
label memtest86
  menu label ^Memory test
"default" [readonly] 38L, 965C
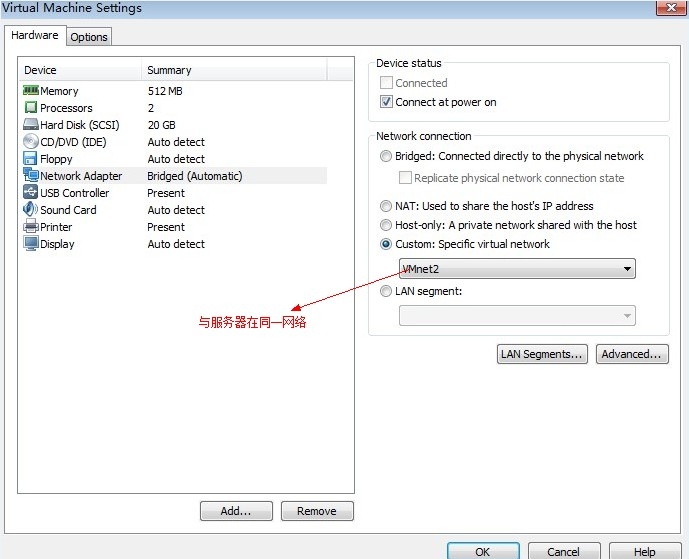
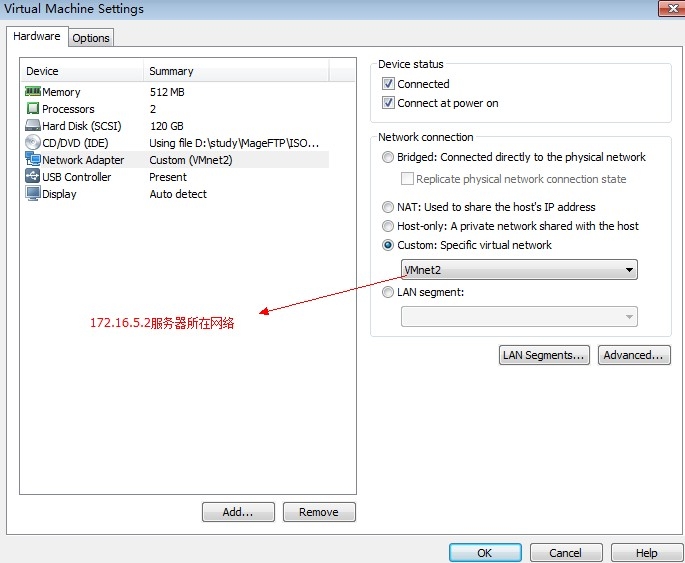
6、新建一个虚拟机,网卡改到和172.16.5.2的服务器同一网络。
开机实现自动安装:
192.16.5.2的服务器上查看日,已经获取到地址:
自动进入安装界面,1分钟之后自动安装:
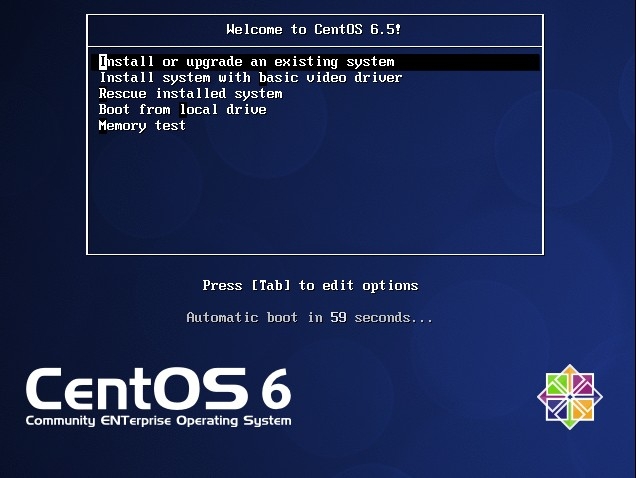
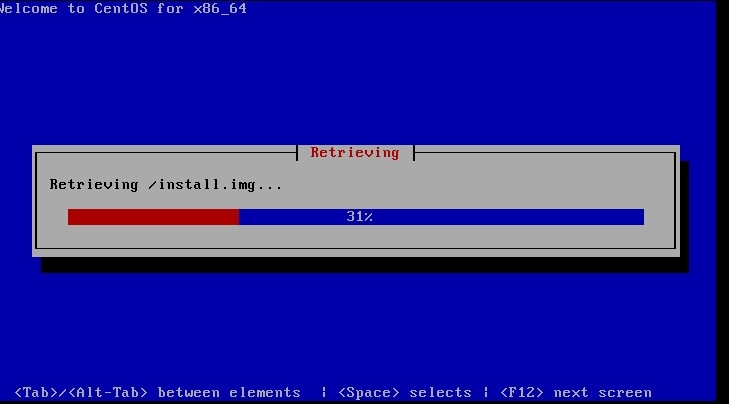
加载内核、根文件系统:
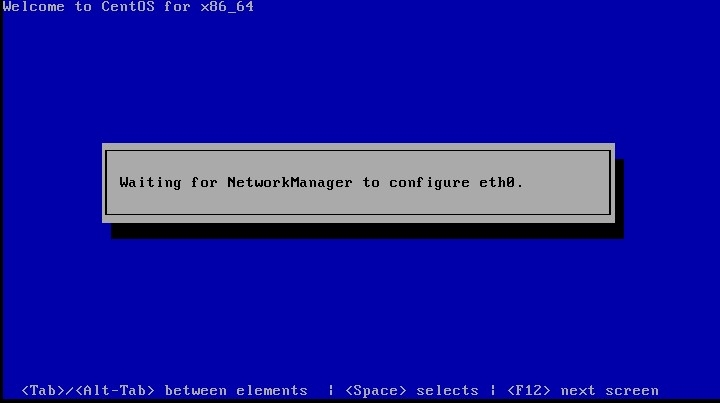
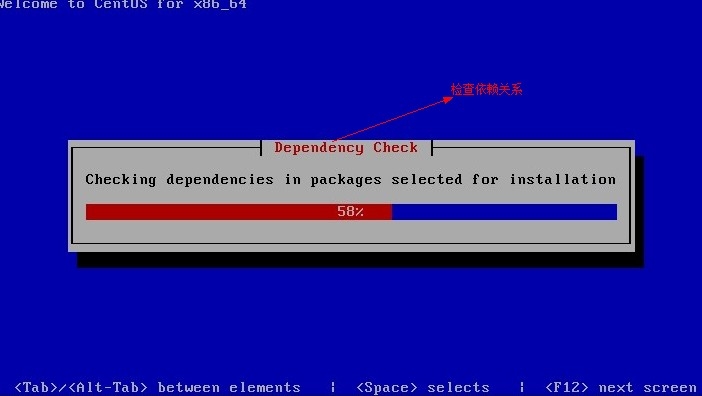
获取地址,读取配置文件,检查依赖关系等:
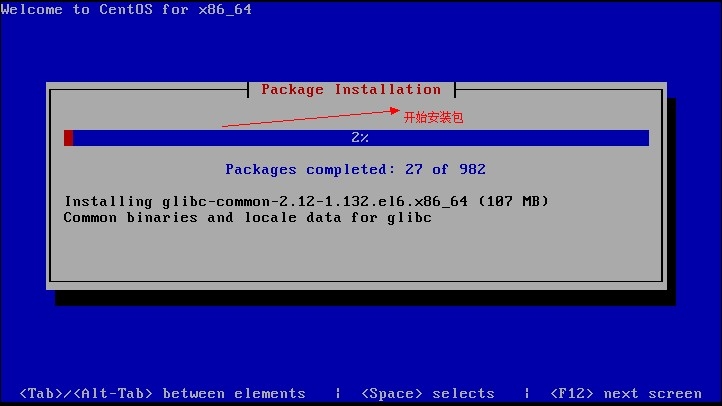
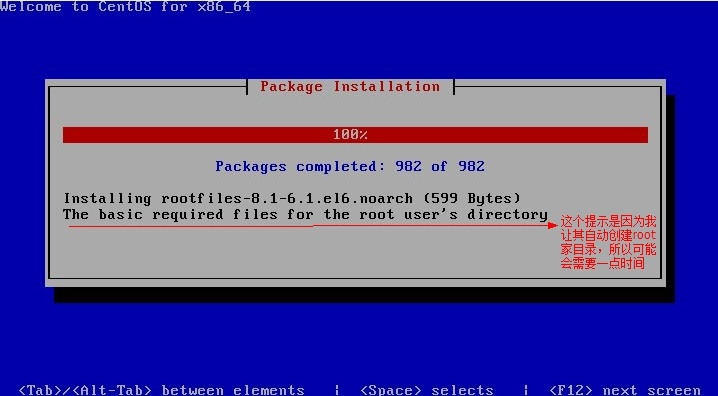
开始安装包:
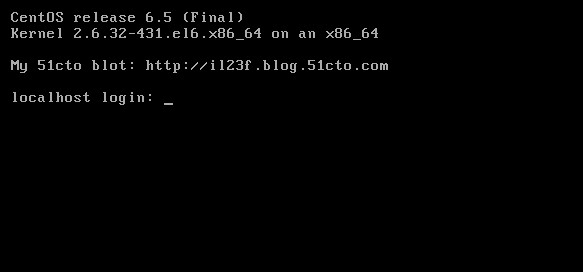
安装完成自动重启进入login界面:
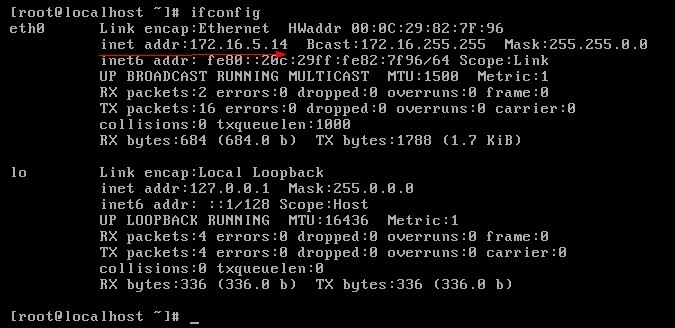
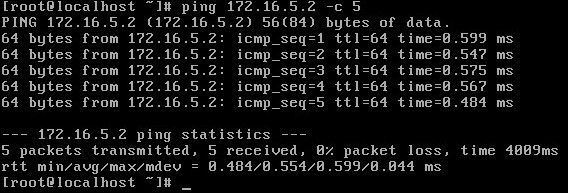
7、安装完成进行测试:
本文出自 “海闊天空” 博客,请务必保留此出处http://il23f.blog.51cto.com/8620950/1376421
郑重声明:本站内容如果来自互联网及其他传播媒体,其版权均属原媒体及文章作者所有。转载目的在于传递更多信息及用于网络分享,并不代表本站赞同其观点和对其真实性负责,也不构成任何其他建议。


